
Review the appearance
Evaluate proportions, visible surfaces, colour and texture with a sample you can handle.
From appearance models to assembly and functional samples, combine CNC machining, 3D printing and finishing around the questions your prototype needs to answer.
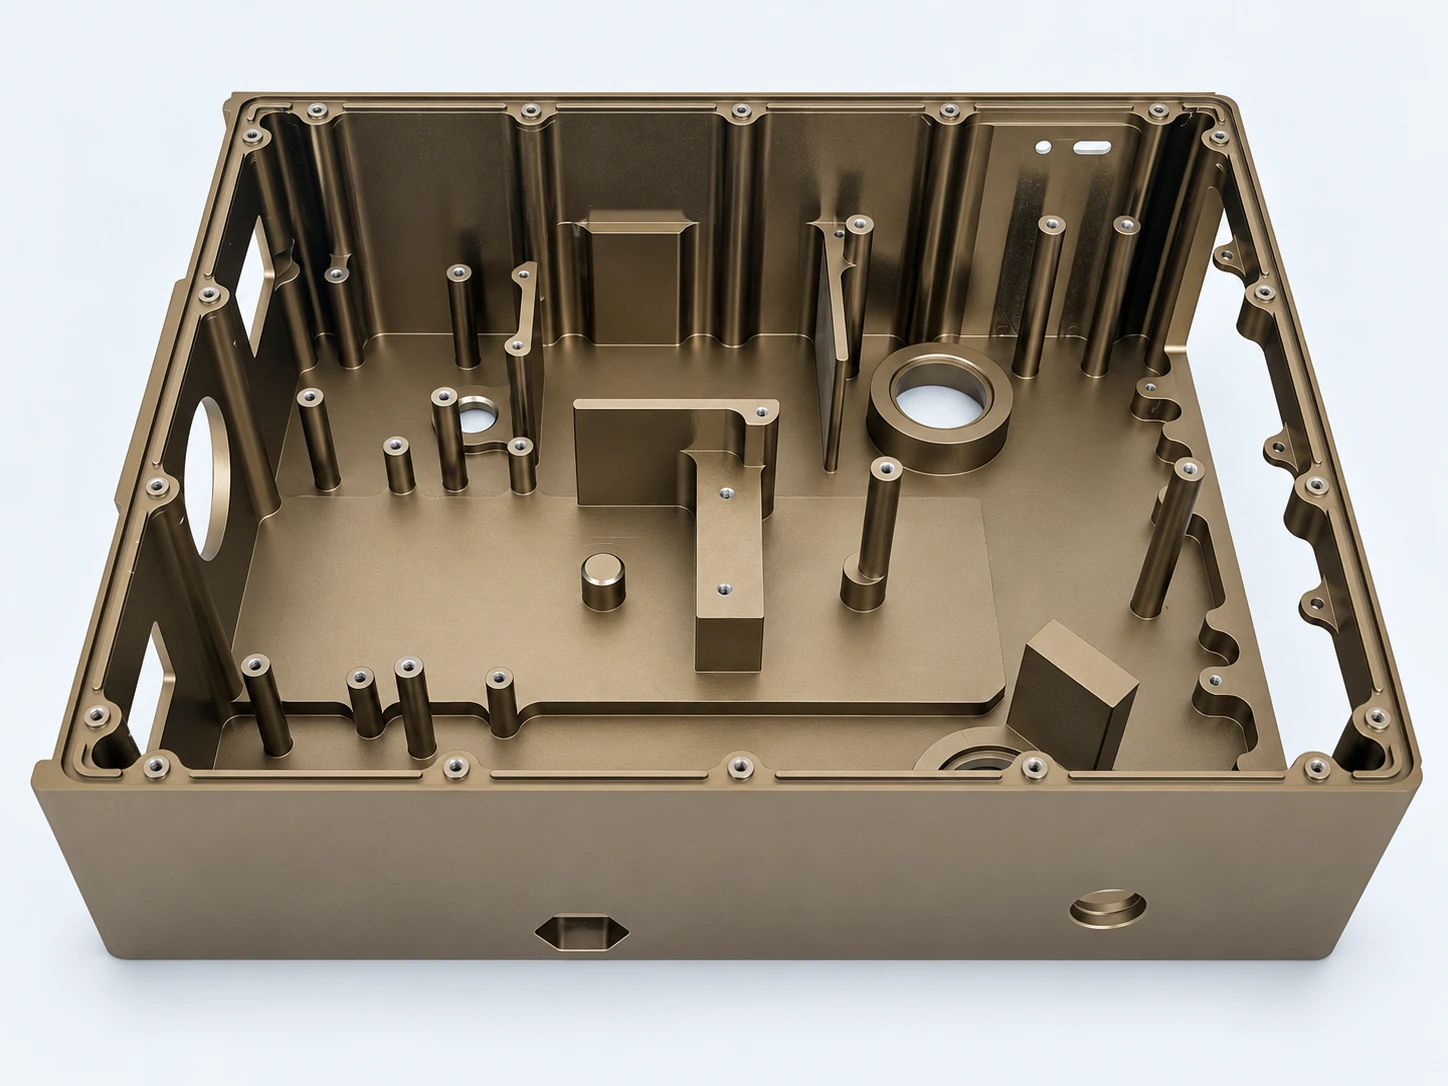
Evaluate proportions, visible surfaces, colour and texture with a sample you can handle.
Review mounting points, interfaces, clearances and the order of assembly.
Agree the material and test conditions for the specific motion, load or environment being assessed.
CNC and 3D printing serve different stages and features. A project can combine both, with acceptance requirements agreed for each part.
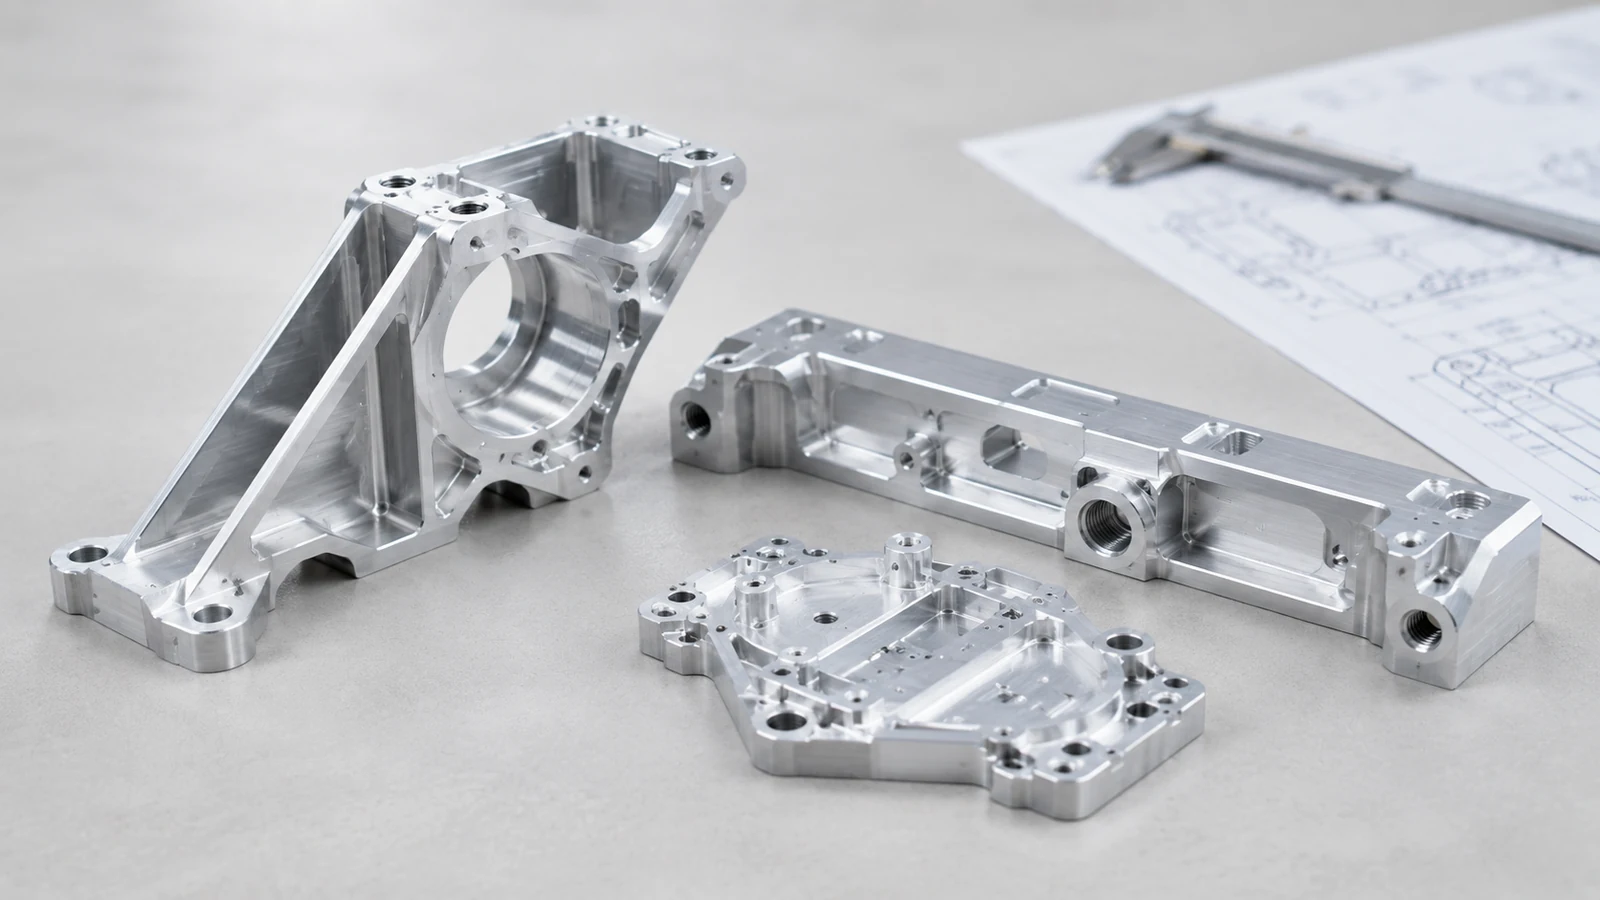
Machine metal or engineering-plastic stock for samples with defined mating surfaces, holes, threads and structural features.
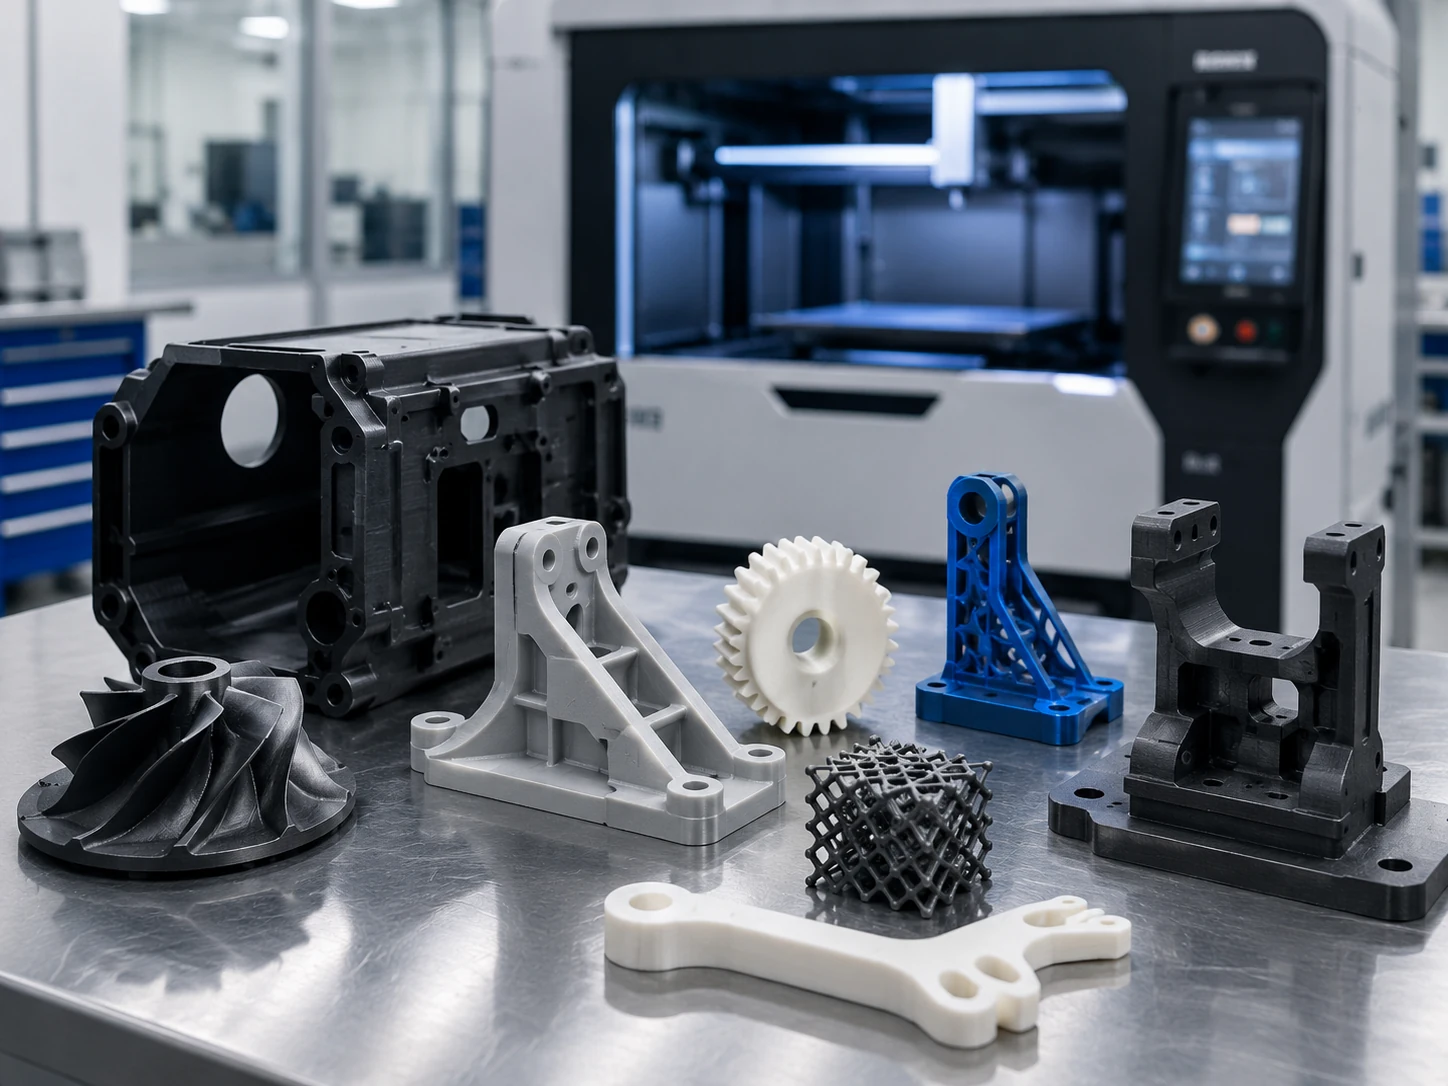
Build samples layer by layer for shape reviews, intricate geometry and early assembly checks. Choose the process and material for the intended test.
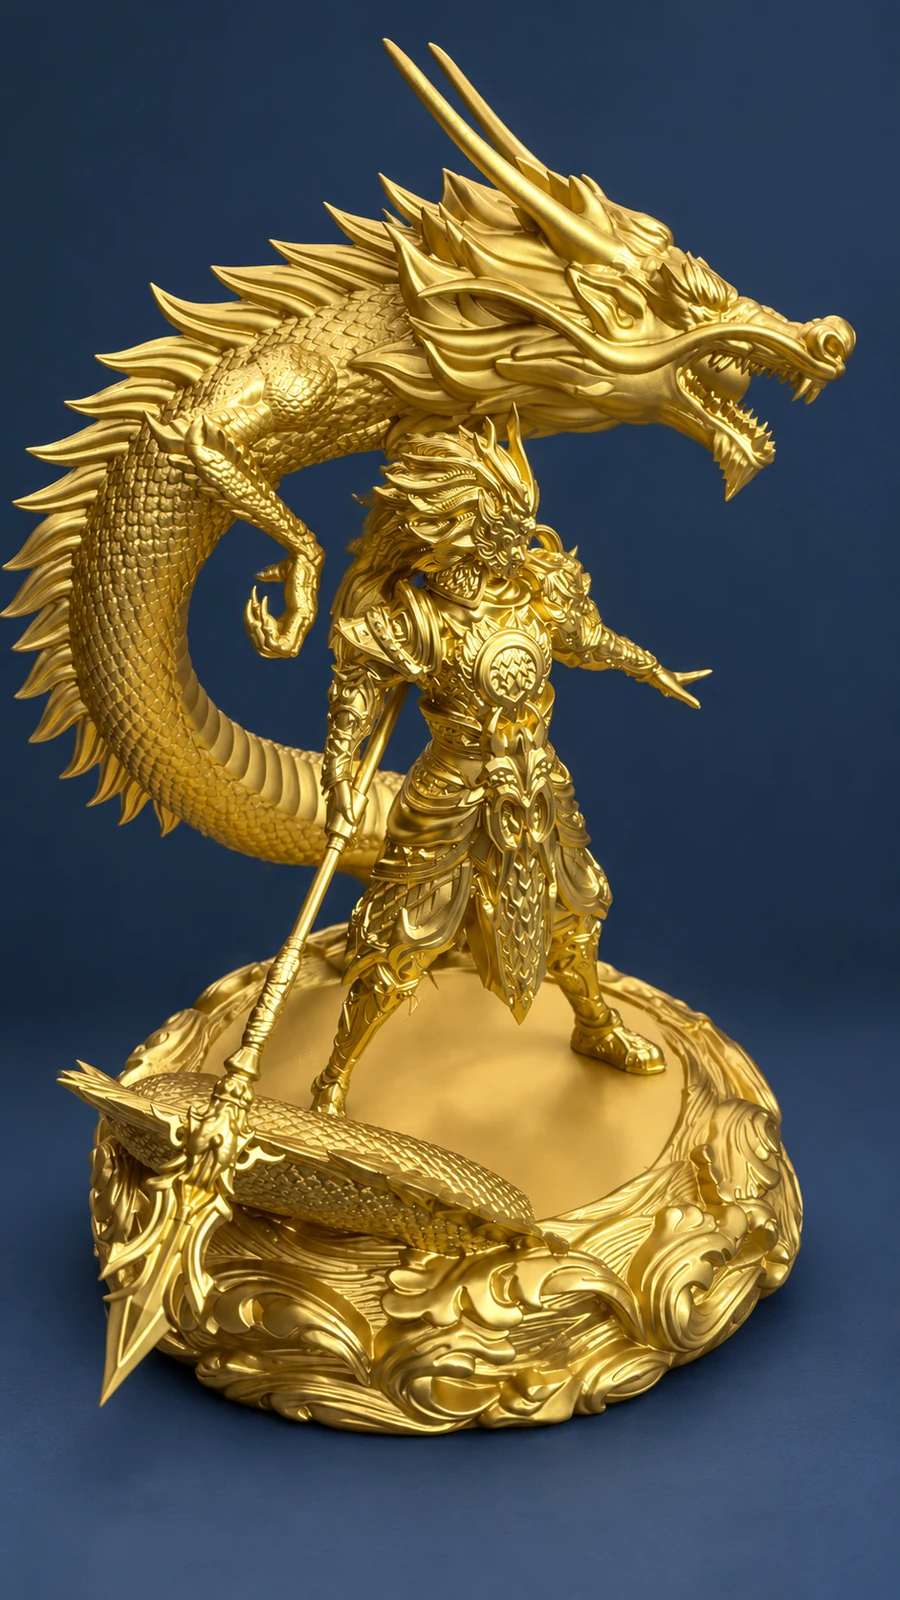
Consider for detailed forms and appearance samples. Review support marks and the required surface finish.
Consider for complex structural and assembly samples. Review texture, fit and the selected material properties.
For load, heat or repeated-use testing, confirm the specific grade, build orientation and test conditions.
A sculptural sample brings fine textures, curved forms and the overall finish into view. Discuss the geometry, construction and surface target together before choosing a manufacturing route.
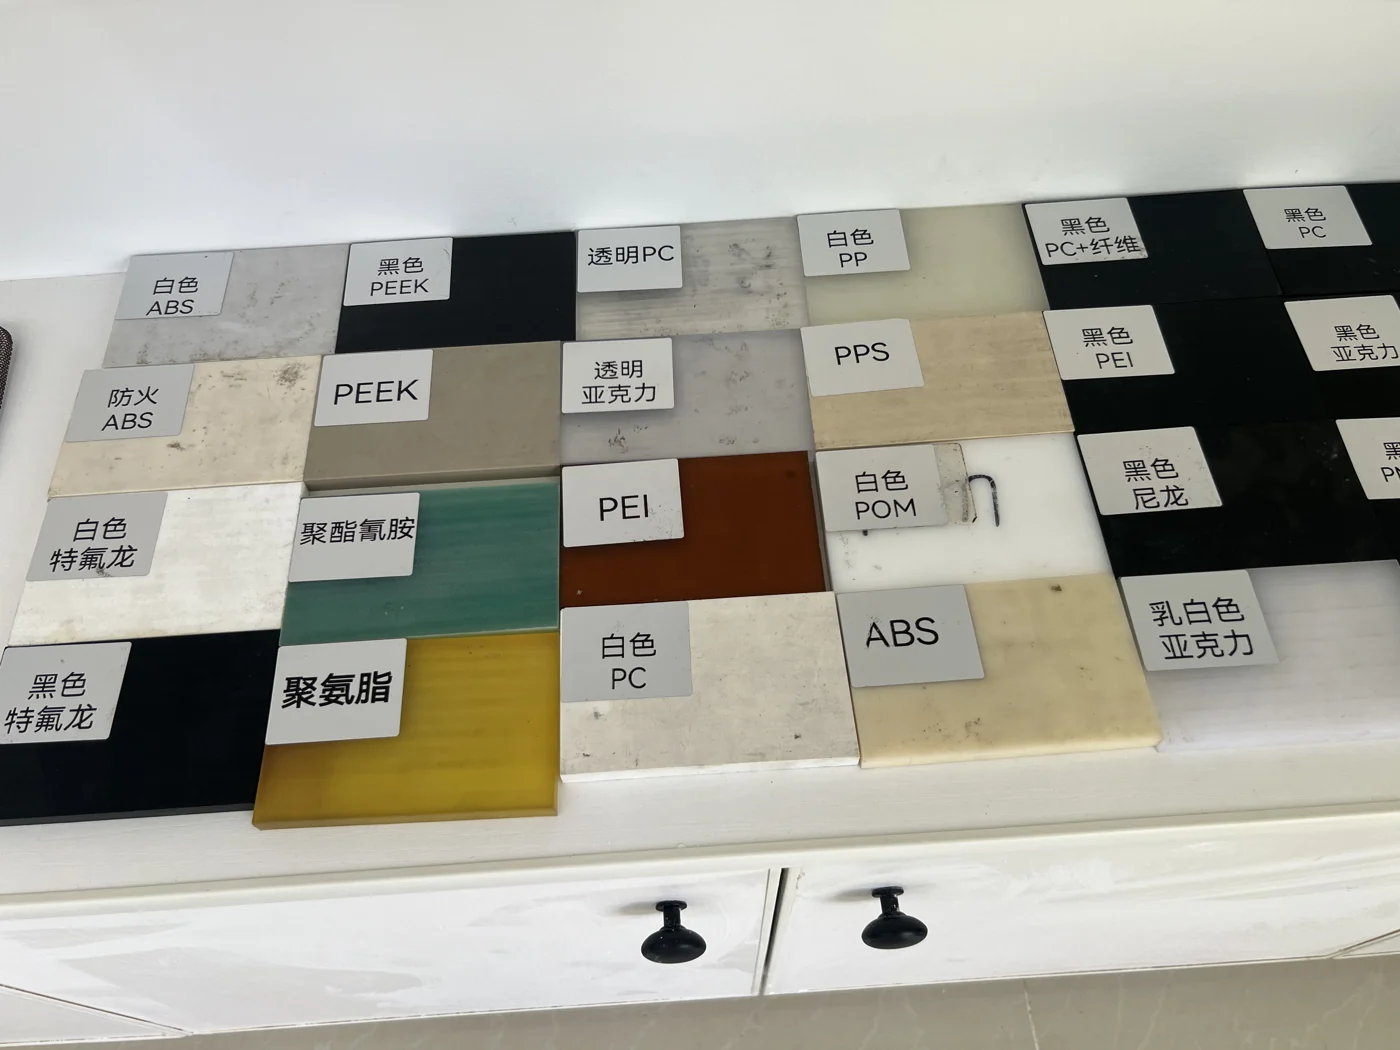
Match appearance, transparency, mating and use conditions to the exact grade.
Consider rigidity, weight, contact surfaces and the final surface treatment.
Review material data for the intended test; a similar appearance does not mean identical performance.
Deburring, sanding and agreed surface refinement.
Review paint colour, texture, gloss and transparent surfaces against a sample.
Review threads, inserts, locating features and mating clearances.
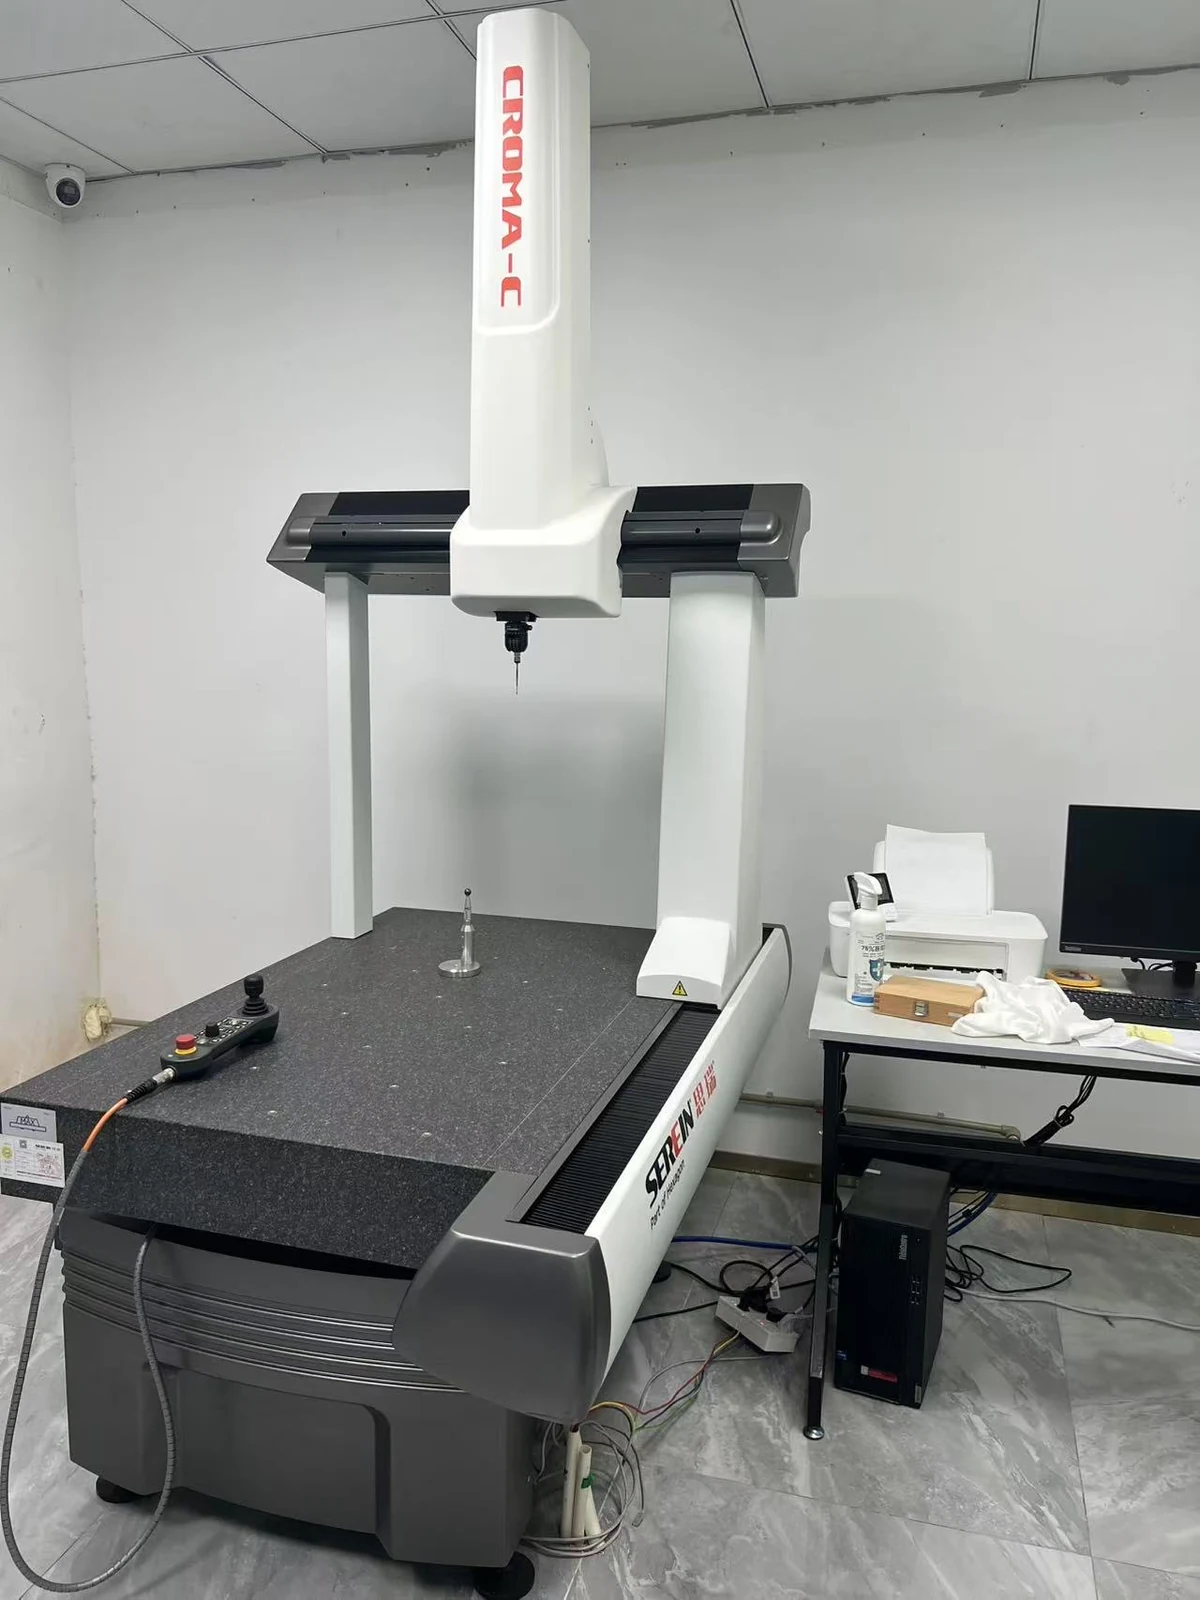
Check agreed cosmetic areas, scratches, burrs, cleaning and transparent surfaces.
Review critical dimensions, holes and threads against the approved revision.
Check specified mating parts; protect visible surfaces, thin features and threads for shipment.
Agree revision, quantity, material, critical features and the purpose of the sample.
Choose machining or printing; plan setups, toolpaths or build orientation.
Produce features and coordinate deburring, finishing and assembly details.
Check agreed requirements, identify the revision and protect the parts for delivery.
Include the model, drawing and sample purpose. We will review the process, finish and inspection requirements together.
Send your prototype enquirySend the model and explain the intended checks. We review material, geometry, fits and surface needs before recommending a route.
It depends on the test. A shape model may answer an assembly question, while a load or thermal test may need a specific material and manufacturing process.
Size, quantity, material, geometry, finishing and inspection all matter. Confirm these details before scheduling the work.
After approval, review any changes in material, manufacturing route or acceptance criteria before a repeat order.
Send your drawing, material, quantity and required delivery date.